
Thinking of starting up your own blog to post your ServiceNow content?
Once you start to amass a large number of blogs, it can be really hard to search and catalogue all your work. Add in Share projects, conference appearances and streaming features, it can become difficult to put it all together. For me, it was time to put a portfolio of my works in a single location that I could easily track and search.
Is it time for you to do the same? I’ve done the hard work for you, so you can quickly and effectively copy your work across into a WordPress blog.
Before you begin
- Have your own WordPress blog setup
- Install Plugin Enlighter – Customizable Syntax Highlighter and set the default language to JavaScript
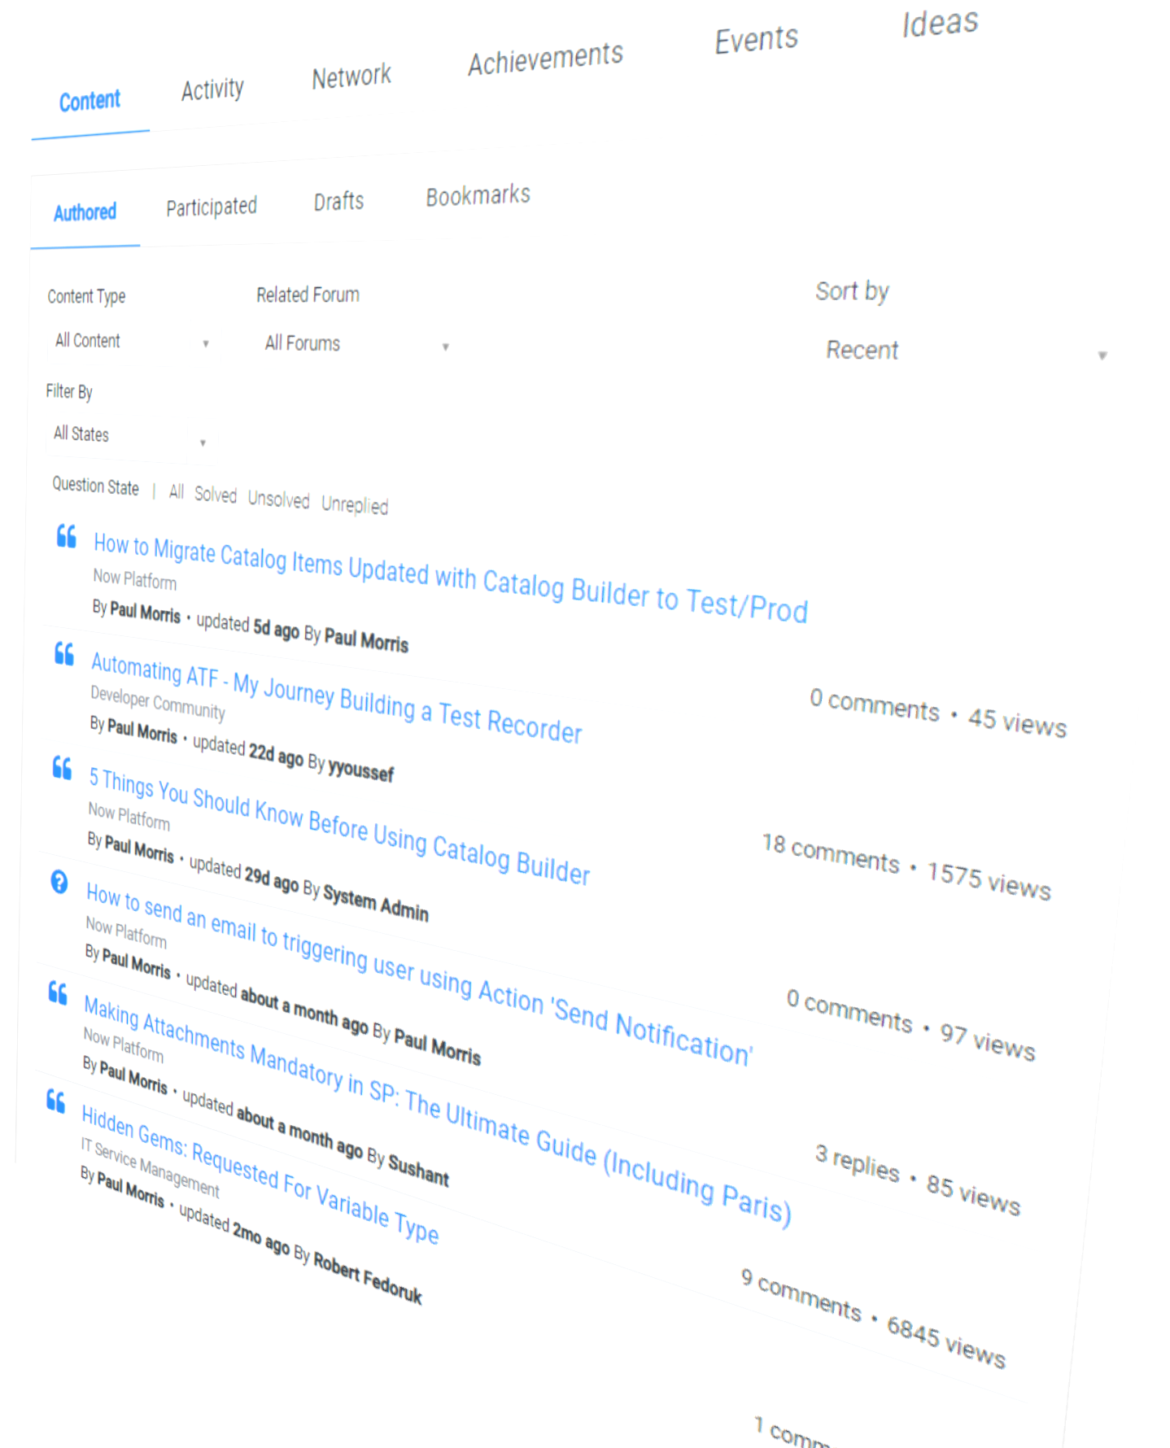
- Have previously authored blogs on the ServiceNow Community
Exporting your content
- Edit your existing blog on the ServiceNow Community
- Save all images as .jpg if you don’t have source image files (they are saved as .iix on the form)

- Edit Source and copy all
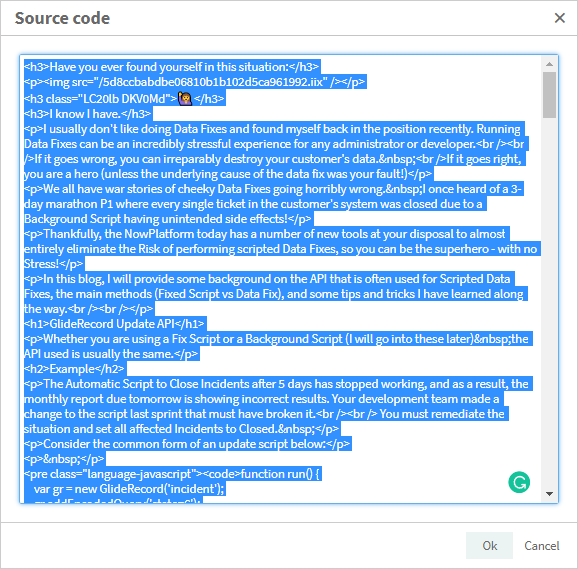
- Create a new post in WordPress
- Set title as desired or use title from the old post
- Create an HTML block and copy the source code
- Convert HTML to blocks via the options menu. Everything should be preserved except for images. Code blocks will inherit the default settings you configured in the Enlighter plugin.
- Update broken images with source images
- Set meta details such as categories and tags, as well as any other changes
- Publish your post using the desired date